Friday, February 7, 2014

DIY: House Warming Gift

 Happy Friday! 

Today we have another DIY project you. 

I am currently trying to build some go-to gift ideas for friends and family. 
I'm not talking Christmas of Birthday gifts. 
I'm talking about those little gifts that pop up 
throughout the year - Baby Shower, Bridal Shower,
Wedding, Graduation, Hostess gifts etc. 

These gifts I always want to be thoughtful, 
but I don't want to break the bank. 

Recently some friends of ours bought a new house, 
and I went looking for a housewarming gift. 
I turned to Pinterest for some inspiration and settled on a "Jar Gift." 
Here are some examples: 

I decided to create my own Housewarming "jar gift." 


When creating a jar gift, it is important to choose a theme to guide you. 

It could be a color, and type of product, a hobby theme; 
anything you want really. 
But the bottom line is choose a theme to tie it all together. 

Since I was in need of a housewarming gift, 
I choose cleaning supplies as my product theme and lemon yellow as my color scheme. 
Here is what I came up with:

Housewarming Jar Gift

DIY Jar Gift House Warming Gift

Shopping List:
(The following are ideas, 
but please feel free to choose 
your own products)


Walmart 128oz Jar Gift Idea DIY

A large (128oz) jar

(I got mine from Walmart)


Pine-sol Lemon Cleaning Product Gift Idea DIY

Palmolive Lemon Dish Soap Gift Idea DIY

Bath and Body Works Foaming Hand Soap Gift Idea DIY

Yankee Candle Sparkling Lemon Gift Idea DIY

Yellow Dish Sponges

Yellow Dish Towels

Lemons

Decorative Ribbon

Another Idea: 
Great gift idea!

Mrs. Meyer Cleaning Products


Method:

1. Arrange items in jar.
2. Tie ribbon around the jar
3. Attach gift tag.
4. Gift!


Right now, my go-to wedding gift is one of these 
AWESOME personalized gifts from Richwood Creations!! 

They have BEAUTIFUL stuff and since it is personalized, 
it will be unique for your special Bride & Groom.  

I also love them because all proceeds go to 
Young Life in West Virginia so you can feel good 
about a good product that supports a worthy ministry!

Click HERE to see their shop and check out some of their stuff!
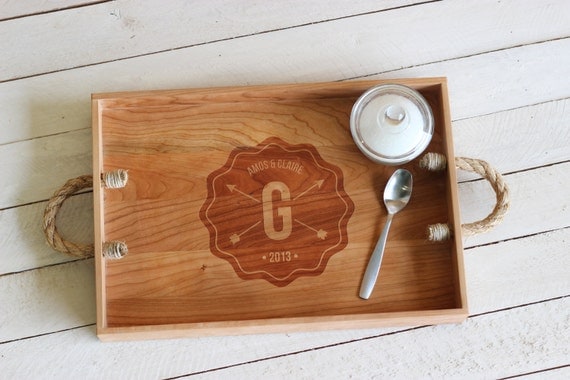
Richwood Creations Engraved Kitchen Tray Gift Idea

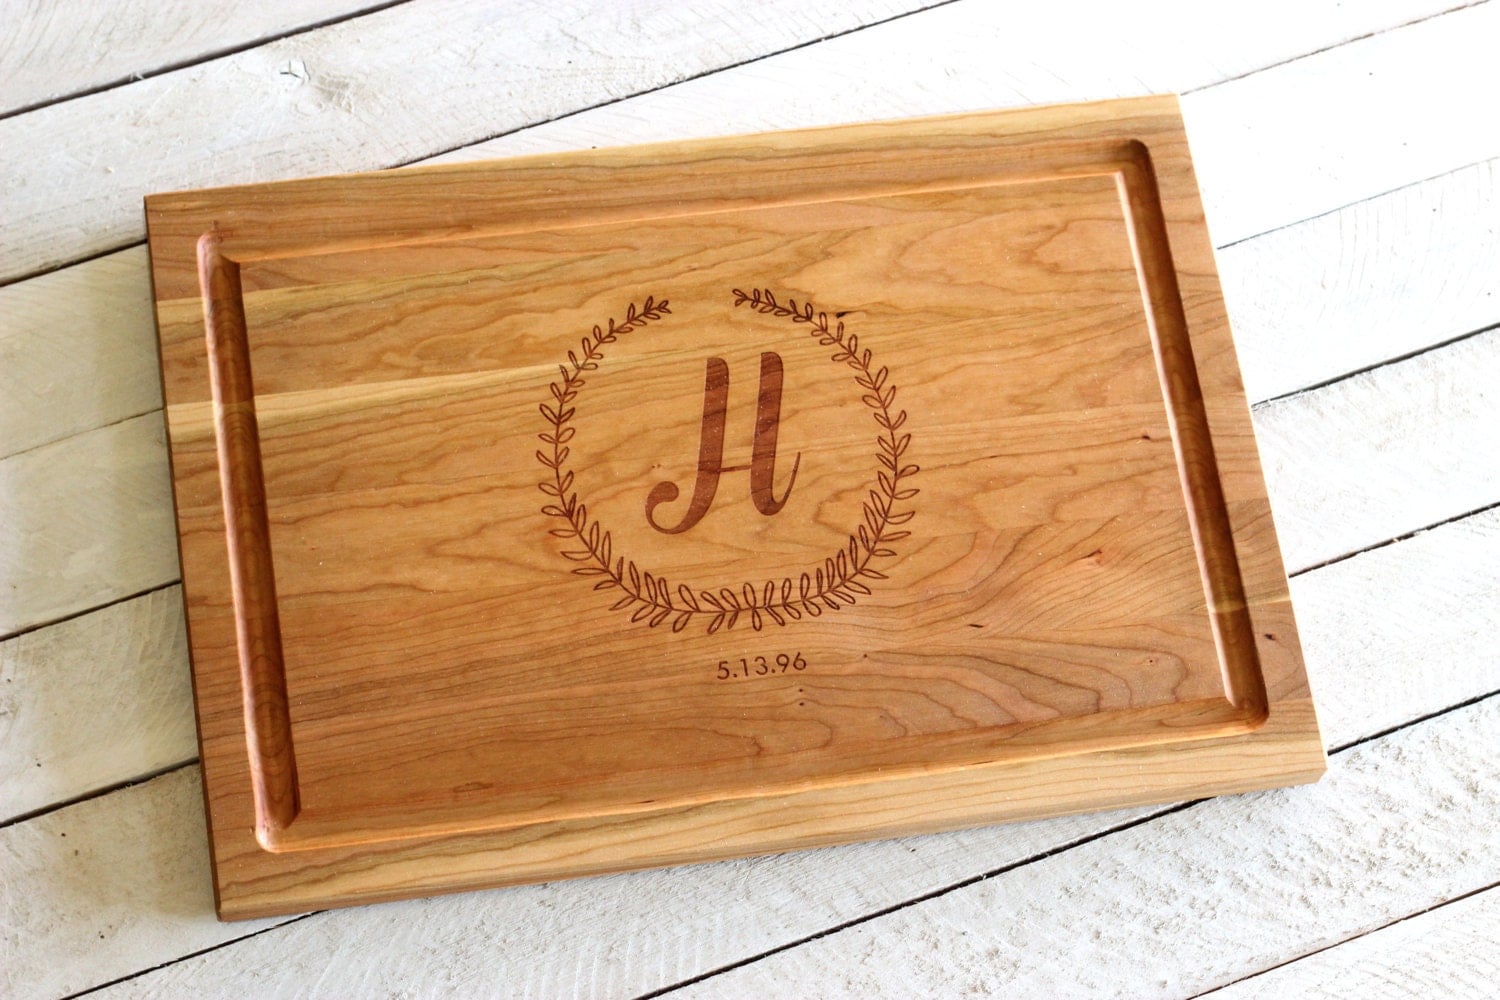
Richwood Creations Engraved Cutting Board Gift Idea

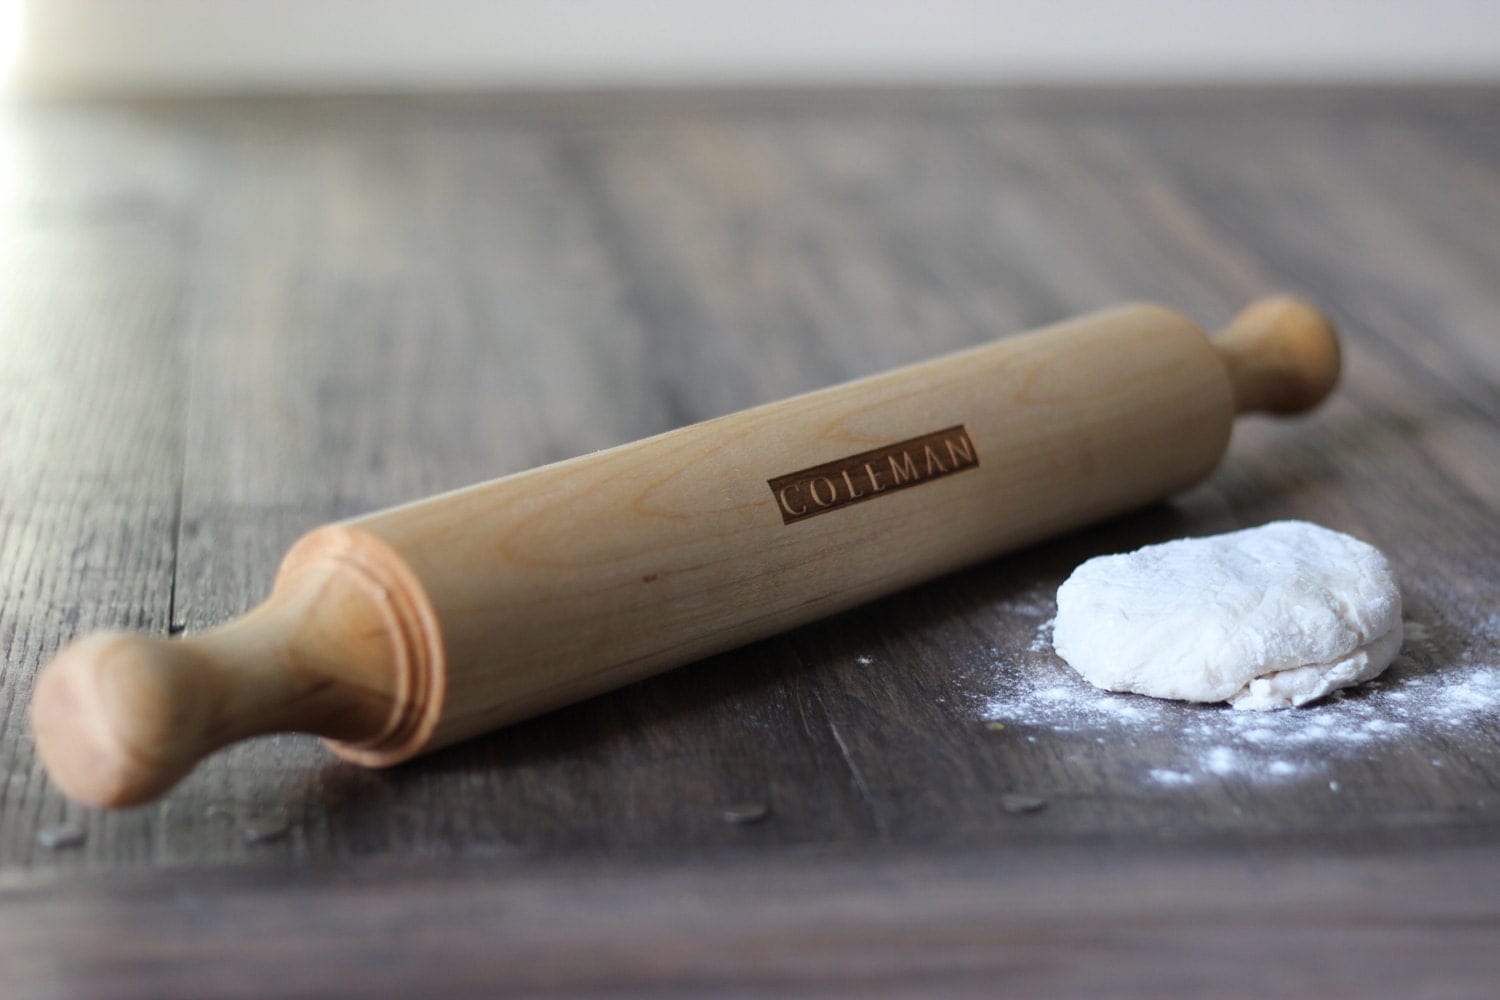
Richwood Creations Engraved Rolling Pin Gift Idea

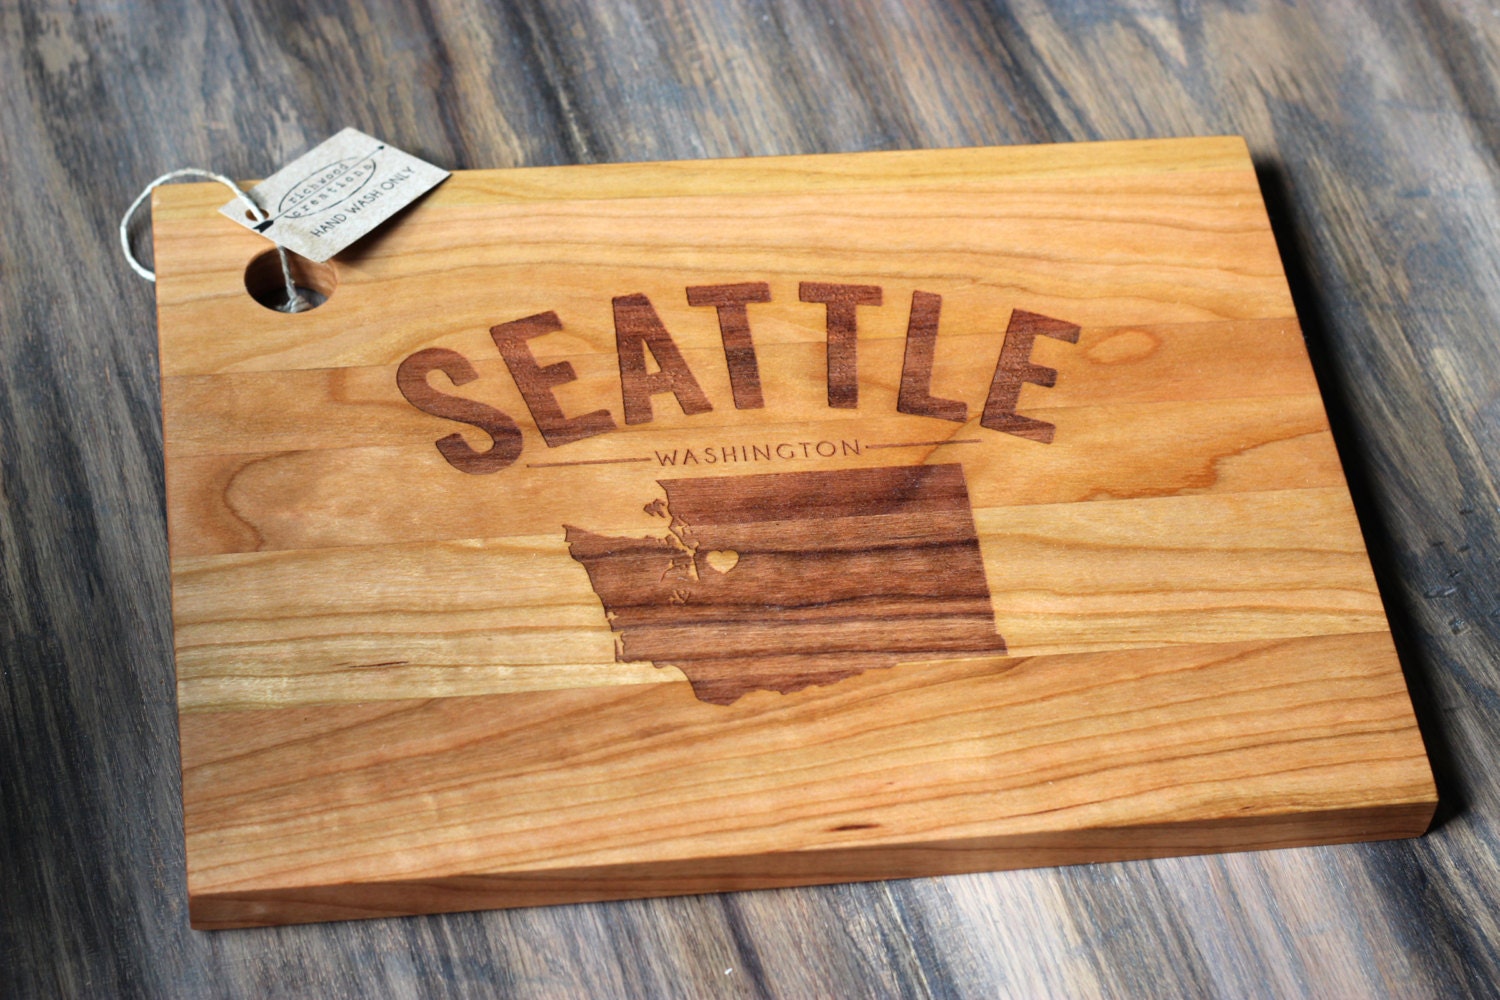
Richwood Creations Engraved Cutting Board City Gift Idea

Don't forget, it's almost our 1 Yr Blogiversary!!


And we have a BIG GIVEAWAY going you don't want to miss! 
Win a Red Keurig Mini Brewer! 
Click HERE to enter!

Red Keurig Mini Brewer Giveaway


Don't forget to watch the Olympic Opening Ceremonies 
tonight and cheer on Team USA!!


Thursday, February 6, 2014

British Popovers

In case you haven't heard, 
we are celebrating the week of our 1 Yr Blogiversary this Week!


And for those of you who know me or have been tracking 
with TMHTC over the past year know that I love all things British!


And I love trying out new British Recipes!  
Here are a few that have been shared over the past year.

photo from kost103.5
On Christmas Eve I shared a super easy Classic Wassail Recipe.
Click HERE to see.


This Victoria Sponge Cake really surprised me! 
The sweetness of the jam is just peeerrrfect! 
Click HERE for the recipe.

 
And what could possibly be more British than scones?!
For the Butterscotch Scones recipe, click HERE.
For the Chai Chocolate Chip Scones recipe, click HERE.


Today, I have an awesome new British recipe to share!
My friend Emily made these recently and posted a gorgeous pic, 
and immediately I knew I had to make them.

British Popovers

Shopping List:

Popover Pan
(Mine is from Williams-Sonoma)

4 Tbsp (1/2 stick) of Butter, melted

6 Eggs, lightly beaten

2 C Milk

2 C Flour

1 tsp Salt


Method:

1. Preheat oven to 450. Spray non-stick cooking spray on popover pan. Pour 1/2 tsp of melted butter into each popover cup.
2. In a mixing bowl, whisk together eggs, milk, then add 2 Tbsp melted butter.
3. In another mixing bowl, whisk together flour and salt. Then add egg mixture and whisk for approximately 2 minutes.
4. Bake for 20 mins at 450. Then reduce heat to 325. Bake for an additional 15 minutes. Remove pan from oven and invert onto a wire cooling rack.
5. Allow pan to cool. Spray with non-stick cooking spray and pour 1/2 tsp melted butter into each popover cup. Bake remaining batter.
6. Serve warm with butter and jam. Enjoy!
Makes 12 Popovers.

Recipe from Williams-Sonoma Popover Pan packaging.


Don't forget about our BIG GIVEAWAY!!
Click HERE for details on how to enter!


We'll see you tomorrow for another AWESOME DIY project!

Wednesday, February 5, 2014

1 Yr Blog Giveaway & Grilled Chicken Winter Salad


We are ONE WEEK away from the 
1st Anniversary of Teach Me How to Cookie! 

ONE YEAR!!


I feel so proud!!
It has been such a fun adventure.
I've learned about blogging and myself,
and we've collected a lot of fun recipes along the way!
I can't wait to continue this little hobby for years to come!

But this week we will celebrate!
And we are starting with a BIG GIVEWAY
to say "Thank You" to everyone who has supported this blog over the past year!

You all know I LOVE coffee.
Starbucks is always my go to,
but sometimes you just need a nice Cuppa Joe at home.
My parents bought me Keurig several Christmas' ago,
and I absolutely LOVE it!
It's so simple, and for someone who is not an everyday coffee drinker,
I need something I just make a single cup when I feel like it.

The Keurig Mini is PERFECT for that!
So over the next week we will be celebrating Valentine's Day a
nd Teach Me How to Cookie's ONE YEAR Anniversary
with some awesome recipes, some guest posts, anddd

drumroll......

A Keurig Mini Giveaway! 
Red of course for Valentine's Day!

You have one week to enter,
and on the official Anniversary of Teach Me How to Cookie,
we will award a winner!


Now for the Recipe of the Day:

Grilled Chicken Winter Salad

Shopping List:

Baby Spinach

Feta

Grilled Chicken Strips


Pomegranate Arils


Craisins


Honey Roasted Walnuts

Raspberry Vinaigrette 
Method:

1. Assemble Salad - that's it! Enjoy!

Incase you missed my DIY Ice Candles, click HERE!


Tuesday, February 4, 2014

DIY: Ice Candles

I saw this idea in my January Southern Living magazine
and it has been so gosh, darn cold lately,
I figured this would be a fun way to embrace the weather!

These things look awesome and you can use them
to decorate almost anything outside!
Put them on  your front porch, flanking your front door,
along a front walkaway,
or make enough to line the whole driveway!
You could place a few sporadically in flower beds in the back yard!

And the best part i they will stay in tact
as long as the weather is below freezing (32 degrees).
So if you see a cold week ahead in the forecast and
want to embrace the falling temps, try this out.

Ice Candles


Shopping List:

2 Different Sized Buckets
(one should fit side the other - I got mine 
for about $1.00/ea at DrugMart)

Weights
(something to weigh 
the smaller/middle bucket 
down - I used a brick)

Water


Method:

1. Place smaller bucket inside larger bucket. Fill smaller bucket with weights (I used a brick).
2. Fill outer ring with water. Place outside to freeze.
3. When completely frozen (mine took almost a full 24 hours), remove weight in smaller bucket, and begin removing ice candle. You may want to leave buckets inside for a little while to loosen up the ice candle. You can also pour hot water into the smaller bucket to aid in this process.
4. Decorate outside, light votive candle and Enjoy!

****************Notes****************

I recommend using taller buckets as votives need to be shielded 
from the wind as much as possible or they will not stay lit.

Also, may sure Ice Candle is COMPLETELY frozen before removing from buckets.


Stay tuned tomorrow as we will be one week away 
One year since the launch of Teach Me How to Cookie! 
And we will be celebrating all week long, starting tomorrow!! 
Tomorrow you will be able to enter my 1 yr Blogiversary Giveaway!!

Annndd!! All next week we will also be posting 
some AWESOME Valentine's Day recipes! 
Feel the love People, feel the love.

Sunday, February 2, 2014

Game Day Snacks: Buffalo Chicken Dip & Nutella Football Cupcakes

It's Game Day!! 


(It's also Downton Day - I feel I should point that out as well)


I hope you had a chance to check out my 
SuperBowl Sunday Menu from Friday.  

If not, click HERE to see it.

But it's Game Day. 

And maybe you are still in need of some last minute, 
super fast recipes for the big party tonight. 

No shame. 
I know how time gets away from us. 

So take a deep breath and relax. 
I've got you covered. 
You can throw this Buffalo Chicken Dip 
in the crockpot to be ready in minutes, 
or use a box mix for these delicious cupcakes that will decorate so fast, 
you're friends won't believe you when they see how cute they look! 

Game on!

Buffalo Chicken Dip


Shopping List:


8oz pkg of Cream Cheese

1/2 C Ranch Dressing

1/2 C Frank's Red Hot Sauce

1/2 C Shredded Mozzarella

2 12.5oz cans Premium Chunk Chicken Breast, drained

Method:

1. Combine ingredients in slow cooker on high 2-4 hours, then on warm to serve.
2. Serve with tortilla chips or french baguette slices. Enjoy!

Nutella Football Cupcakes

Shopping List:

1 box Chocolate Cake Mix

Ingredients on box
(i.e. eggs, butter, oil, water, etc.)

1/2 C Nutella

Cupcake Papers

Frosting:

1 container Chocolate Frosting

1/2 C Nutella

Piping Bags, Tips, and Couplers

White Gel Icing in writing tube

Method:

1. Preheat oven according to box and line cupcake tins with cupcake papers.
2. Prepare box mix according to box instructions. Before mixing, add 1/2 C Nutella.
3. Bake according to box instructions. Allow to cool.
4. In a small mixing bowl, combine chocolate frosting and 1/2 C Nutella.
5. Place appropriate tip and coupler on piping bag and fill piping bag with frosting.


6. Pipe football onto cooled cupcake (see picture). Draw lacing on using white gel icing. Enjoy!

May the best team commercial WIN!!

We'll see you Tuesday as a share a special DIY project 
(but this is a cooking blog you say!) 
that'll have you feeling a little more warm about this freezing cold weather!