Showing posts with label Christmas. Show all posts

Wednesday, February 12, 2014

1 Yr Blogiversary!!

It's Teach Me How to Cookie's 
1 Yr Blogiversary!!!


One year ago today, we posted our first recipe... Meatball and Veggie Strombolis.
Click HERE for the recipe.

I started TMHTC on a whim, hoping to find a little hobby I could enjoy.
I had no idea how much I would love blogging,
sharing recipes, creating recipes, and connecting with people.

I'm also excited to announce that today
we are launching our official Facebook page!

Teach Me How to Cookie Facebook Banner
 
Make sure you click HERE to like the page
to keep up with all of the latest recipes and posts!

I have to take a second and thank all of the
guest bloggers who have guest posted for me!
I have loooved having these wonderful women
share their talents through TMHTC!

Thank you Hannah, Sue (Mom), Mandy, Katie, 
Melissa, Julie, Tessa, and Carly! 
I hope you will continue to share your recipes on here!

Teach Me How to Cookie Guest Bloggers

And to anyone else interested in guest posting, please contact me and let me know!


And now the Top 5 Recipes from the year...

Teach Me How to Cookie Top Recipes of Year 1


Chicken Asparagus and Parmesan Spaghetti Recipe

Click HERE for the recipe.


Irish Car Bomb Cupcake Recipe St. Patrick's Day

Click HERE to see the recipe.


Starbucks Iced Lemon Pound Cake Recipe

Click HERE for the recipe.


Cabbage and Ramen Noodle Salad Recipe

Click HERE to see recipe.


Taco Pie Recipe

Click HERE for the recipe.


Your favorite Pumpkin Fall Friday...


Easy Pumpkin Dip Recipe

Click HERE for recipe.


Your favorite Christmas Cookie...


Sugar Cookie Cut outs with Royal Icing Recipe

Click HERE for recipe.


My Favorite Recipe from the year...


Salted Caramel Mocha Cupcake Recipe

Click HERE for recipe.


And now....

The WINNER of the Red Keurig Mini Brewer is...

Tiffany Roberts!!

Congratulations Tiffany! I will be emailing you with 
instructions on how to claim your prize.

In case you missed yesterday, here is 
Chocolate in EVERY. COURSE!

Valentine's Dinner Menu for You and Your Sweetie Chocolate

Click HERE for the recipe.

Here's to another great year of cooking, baking, blogging, 
creating, sharing, connecting, and tasting!

Friday, February 7, 2014

DIY: House Warming Gift

 Happy Friday! 

Today we have another DIY project you. 

I am currently trying to build some go-to gift ideas for friends and family. 
I'm not talking Christmas of Birthday gifts. 
I'm talking about those little gifts that pop up 
throughout the year - Baby Shower, Bridal Shower,
Wedding, Graduation, Hostess gifts etc. 

These gifts I always want to be thoughtful, 
but I don't want to break the bank. 

Recently some friends of ours bought a new house, 
and I went looking for a housewarming gift. 
I turned to Pinterest for some inspiration and settled on a "Jar Gift." 
Here are some examples: 

I decided to create my own Housewarming "jar gift." 


When creating a jar gift, it is important to choose a theme to guide you. 

It could be a color, and type of product, a hobby theme; 
anything you want really. 
But the bottom line is choose a theme to tie it all together. 

Since I was in need of a housewarming gift, 
I choose cleaning supplies as my product theme and lemon yellow as my color scheme. 
Here is what I came up with:

Housewarming Jar Gift

DIY Jar Gift House Warming Gift

Shopping List:
(The following are ideas, 
but please feel free to choose 
your own products)


Walmart 128oz Jar Gift Idea DIY

A large (128oz) jar

(I got mine from Walmart)


Pine-sol Lemon Cleaning Product Gift Idea DIY

Palmolive Lemon Dish Soap Gift Idea DIY

Bath and Body Works Foaming Hand Soap Gift Idea DIY

Yankee Candle Sparkling Lemon Gift Idea DIY

Yellow Dish Sponges

Yellow Dish Towels

Lemons

Decorative Ribbon

Another Idea: 
Great gift idea!

Mrs. Meyer Cleaning Products


Method:

1. Arrange items in jar.
2. Tie ribbon around the jar
3. Attach gift tag.
4. Gift!


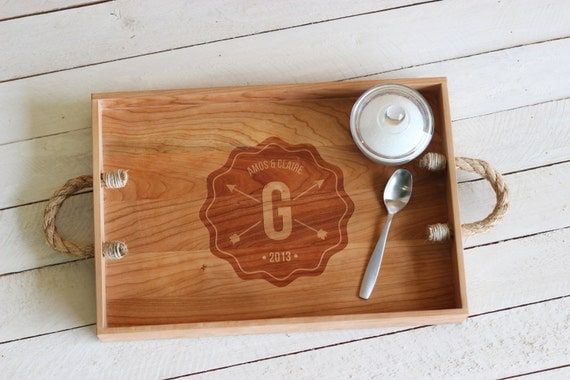
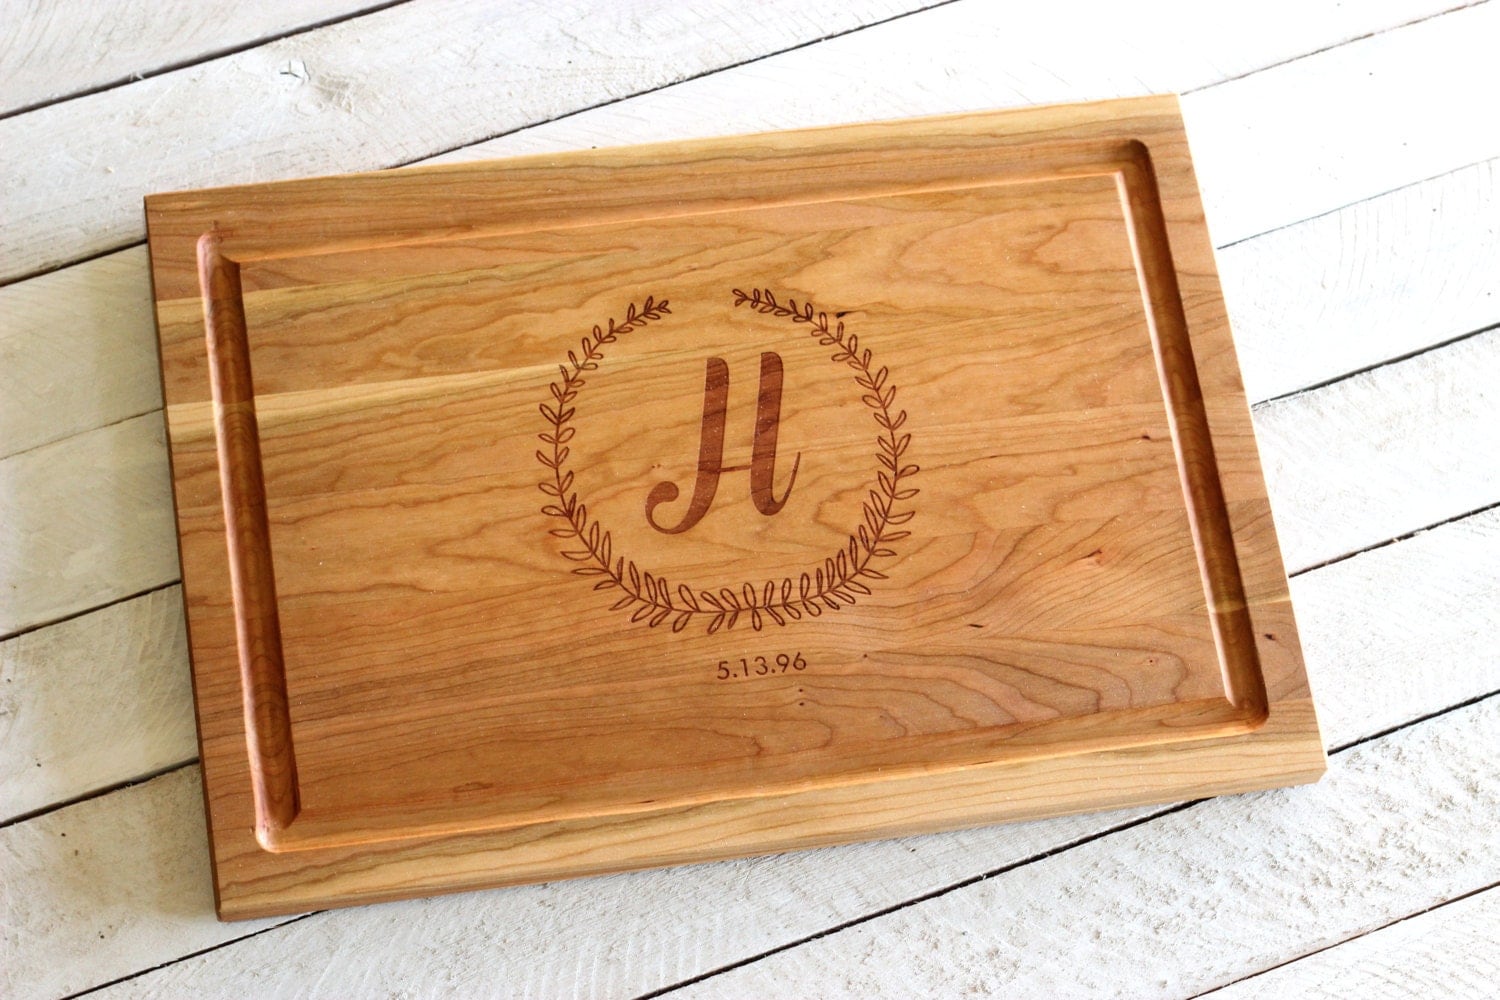
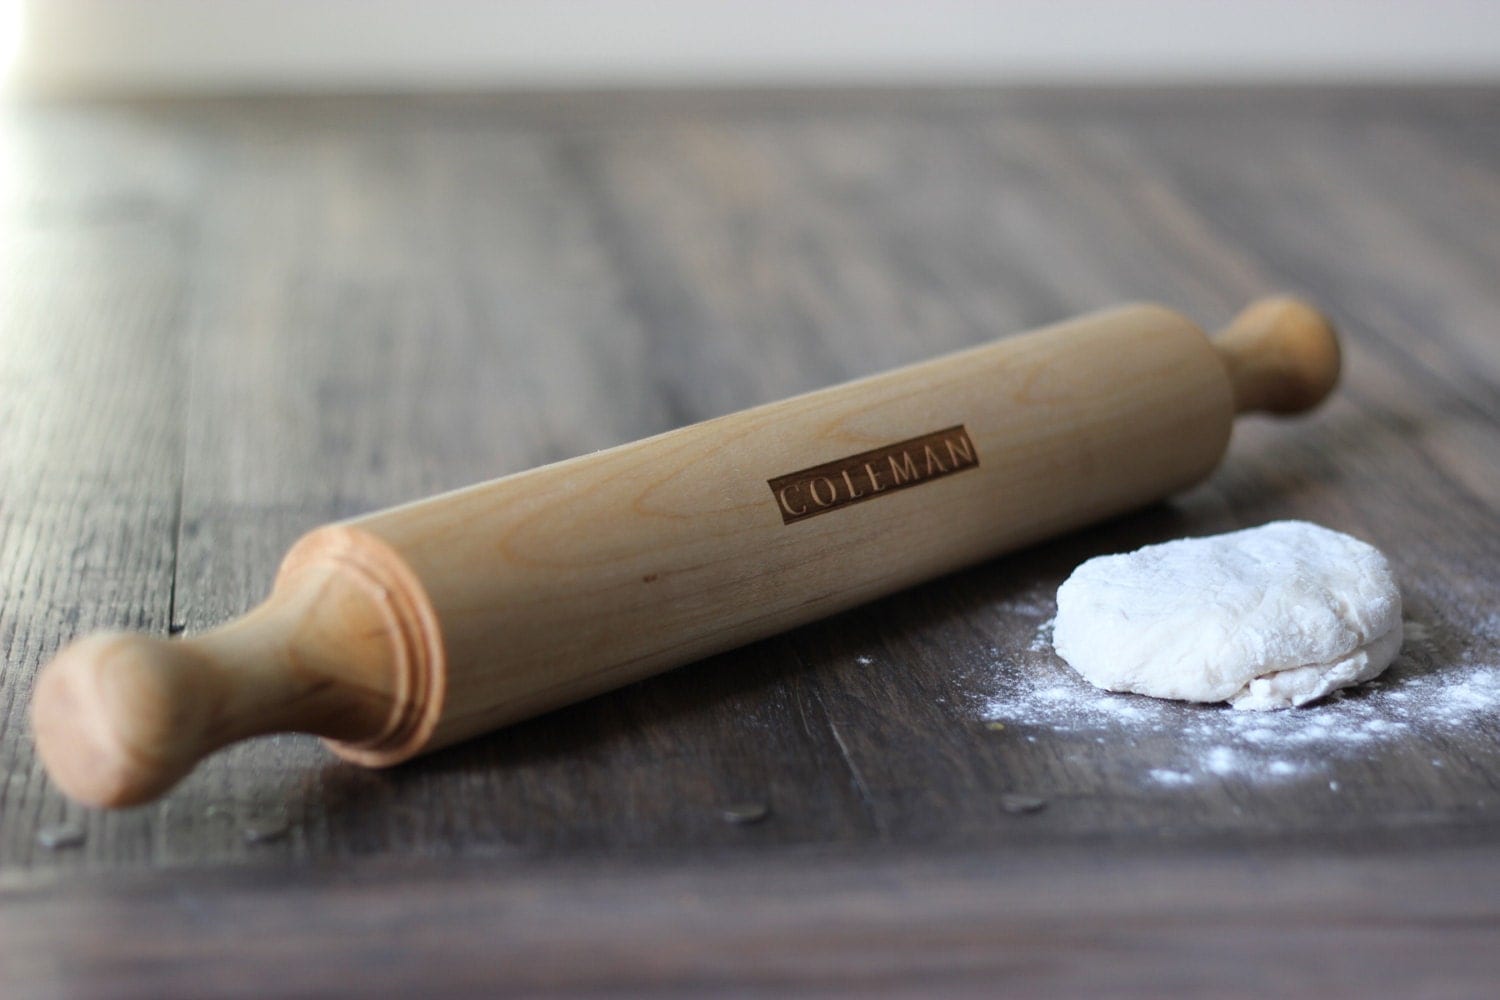
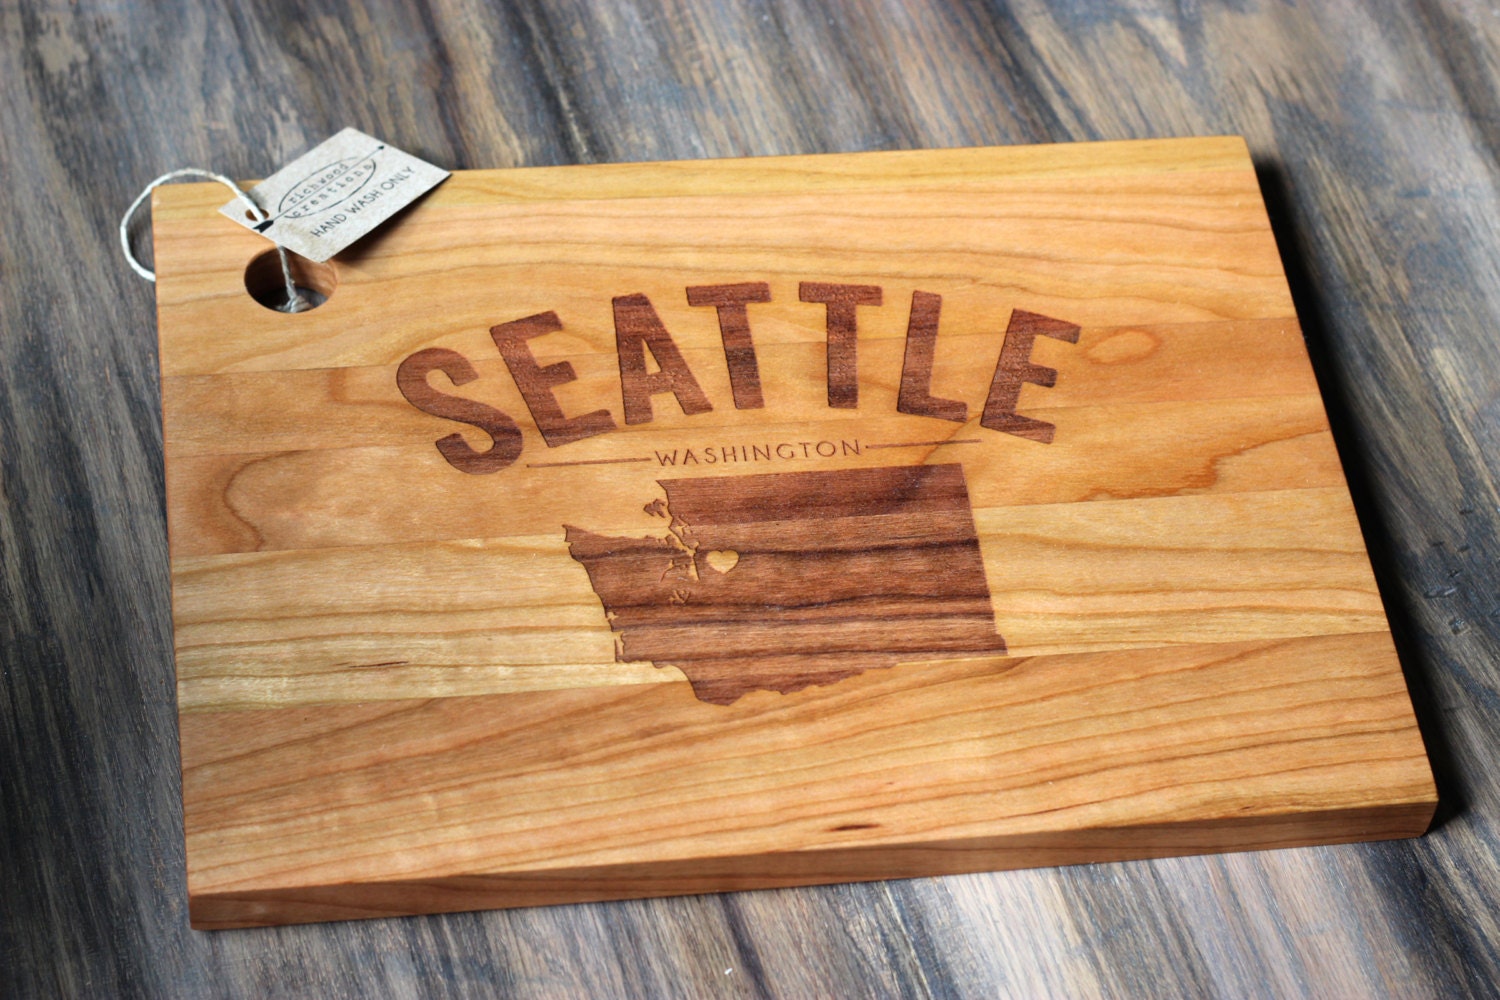
Right now, my go-to wedding gift is one of these 
AWESOME personalized gifts from Richwood Creations!! 

They have BEAUTIFUL stuff and since it is personalized, 
it will be unique for your special Bride & Groom.  

I also love them because all proceeds go to 
Young Life in West Virginia so you can feel good 
about a good product that supports a worthy ministry!

Click HERE to see their shop and check out some of their stuff!

Richwood Creations Engraved Kitchen Tray Gift Idea

Richwood Creations Engraved Cutting Board Gift Idea

Richwood Creations Engraved Rolling Pin Gift Idea

Richwood Creations Engraved Cutting Board City Gift Idea

Don't forget, it's almost our 1 Yr Blogiversary!!


And we have a BIG GIVEAWAY going you don't want to miss! 
Win a Red Keurig Mini Brewer! 
Click HERE to enter!

Red Keurig Mini Brewer Giveaway


Don't forget to watch the Olympic Opening Ceremonies 
tonight and cheer on Team USA!!


Tuesday, February 4, 2014

DIY: Ice Candles

I saw this idea in my January Southern Living magazine
and it has been so gosh, darn cold lately,
I figured this would be a fun way to embrace the weather!

These things look awesome and you can use them
to decorate almost anything outside!
Put them on  your front porch, flanking your front door,
along a front walkaway,
or make enough to line the whole driveway!
You could place a few sporadically in flower beds in the back yard!

And the best part i they will stay in tact
as long as the weather is below freezing (32 degrees).
So if you see a cold week ahead in the forecast and
want to embrace the falling temps, try this out.

Ice Candles


Shopping List:

2 Different Sized Buckets
(one should fit side the other - I got mine 
for about $1.00/ea at DrugMart)

Weights
(something to weigh 
the smaller/middle bucket 
down - I used a brick)

Water


Method:

1. Place smaller bucket inside larger bucket. Fill smaller bucket with weights (I used a brick).
2. Fill outer ring with water. Place outside to freeze.
3. When completely frozen (mine took almost a full 24 hours), remove weight in smaller bucket, and begin removing ice candle. You may want to leave buckets inside for a little while to loosen up the ice candle. You can also pour hot water into the smaller bucket to aid in this process.
4. Decorate outside, light votive candle and Enjoy!

****************Notes****************

I recommend using taller buckets as votives need to be shielded 
from the wind as much as possible or they will not stay lit.

Also, may sure Ice Candle is COMPLETELY frozen before removing from buckets.


Stay tuned tomorrow as we will be one week away 
One year since the launch of Teach Me How to Cookie! 
And we will be celebrating all week long, starting tomorrow!! 
Tomorrow you will be able to enter my 1 yr Blogiversary Giveaway!!

Annndd!! All next week we will also be posting 
some AWESOME Valentine's Day recipes! 
Feel the love People, feel the love.